Publish a Scala Library using Github Actions in No Time

Vlad Kopaniev
17 May 2023
This tutorial will get you through the minimal steps required to publish your Scala library using GitHub Actions. It doesn’t assume the exact artifactory provider or whether it is an internal company lib or an OSS library.
The process consists of the following steps:
- Get the credentials from your artifactory
- Enable GitHub Actions
- Setup your build to use the publishing plugin
- Populate repository secrets
- Modify GitHub Action for publishing
Get the credentials from your artifactory
Getting the credentials from your artifactory is necessary to authenticate your library with the repository where you plan to publish it. This is typically done by generating an API key or user/password pair (jfrog artifactory example), which is then used to authenticate the publishing process. Without valid credentials, the publishing process will fail.
As an example, we will use user/password authentication.
Enable GitHub Actions
Go to the actions tab and click enable. This will prompt you to a yml file suggested for your repo, github automatically detects scala repository and suggest an appropriate workflow definition.
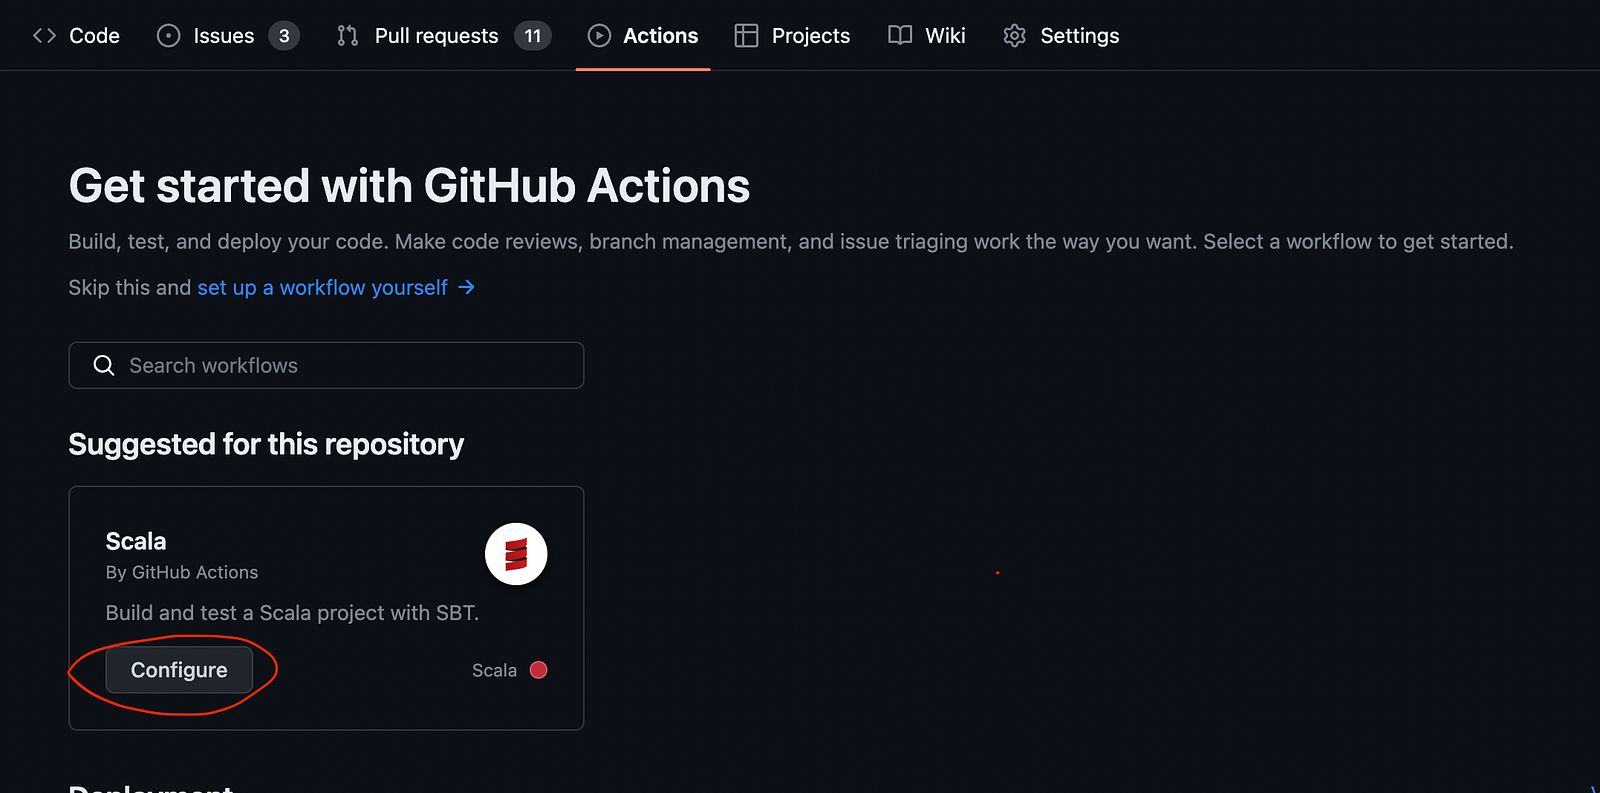
After clicking configure, it will suggest you to commit a scala.yml file. Commit this file, it would be a base for your future GHA workflows.
Setup your build to use the sbt-git-versioning plugin
We will take advantage of the sbt-git-versioning plugin because it is simple to use and doesn’t require much effort to set up, it simplifies versioning by automatically deriving the correct version number, and it follows a semantic versioning scheme, which is preferable for most libraries.
Enable https://github.com/rallyhealth/sbt-git-versioning to your project by adding this to your project/plugins.sbt file:
resolvers += Resolver.bintrayRepo("rallyhealth", "sbt-plugins")
addSbtPlugin("com.rallyhealth.sbt" % "sbt-git-versioning" % "1.6.0")
Let’s now configure some credentials:
credentials += Credentials(
  "Artifactory Realm",
  "yourcompany.jfrog.io", //change this line to the URL of your artifactory
  sys.env("ARTIFACTORY_USERNAME"),
  sys.env("ARTIFACTORY_PASSWORD")
)
Populate repository secrets
Copy your credentials from Step 1. Follow this instruction (particularly the “Creating encrypted secrets for a repository“ section) to populate your secrets. You can use names like ARTIFACTORY_USERNAME/ARTIFACTORY_PASSWORD for username and password, respectively.
After it’s done, your secrets tab should look like this:

Modify GitHub Action for publishing
Let’s add a workflow that will push libraries to the artifactory. Add a file a name likescala-publish.yml to your .github/workflow directory. Add the following code to the newly created file:
name: Scala CI publish
on:
  push:
    tags:
      - v* #match all version tags e.g. v0.1.0
    secrets:
      ARTIFACTORY_USERNAME:
        required: true
      ARTIFACTORY_PASSWORD:
        required: true
jobs:
  publish:
    runs-on: ubuntu-latest
    steps:
    - uses: actions/checkout@v3
    - name: Set up JDK 17
      uses: actions/setup-java@v3
      with:
        java-version: '17'
        distribution: 'temurin'
        cache: 'sbt'
    - name: Run publish
      run: sbt test +publish
      env:
        ARTIFACTORY_USERNAME: ${{ secrets.ARTIFACTORY_USERNAME }}
        ARTIFACTORY_PASSWORD: ${{ secrets.ARTIFACTORY_PASSWORD }}
Notice the command we use for publishing: sbt test +publish , the plus symbol before the publish keyword here is added to ensure cross-publishing of a library for different versions of Scala. If you don’t need to publish Scala for multiple versions (e.g. 2.12, 2.13, 3) then you can omit the plus sign.
This is it, at this point, you are ready to publish your library! It took me about 5 minutes to set this up for one of my projects! Magic!
But how do you actually release? Just create and push a tag named e.g. v0.0.1 to your main branch. And that is it! You will see something like this in your github actions tab:
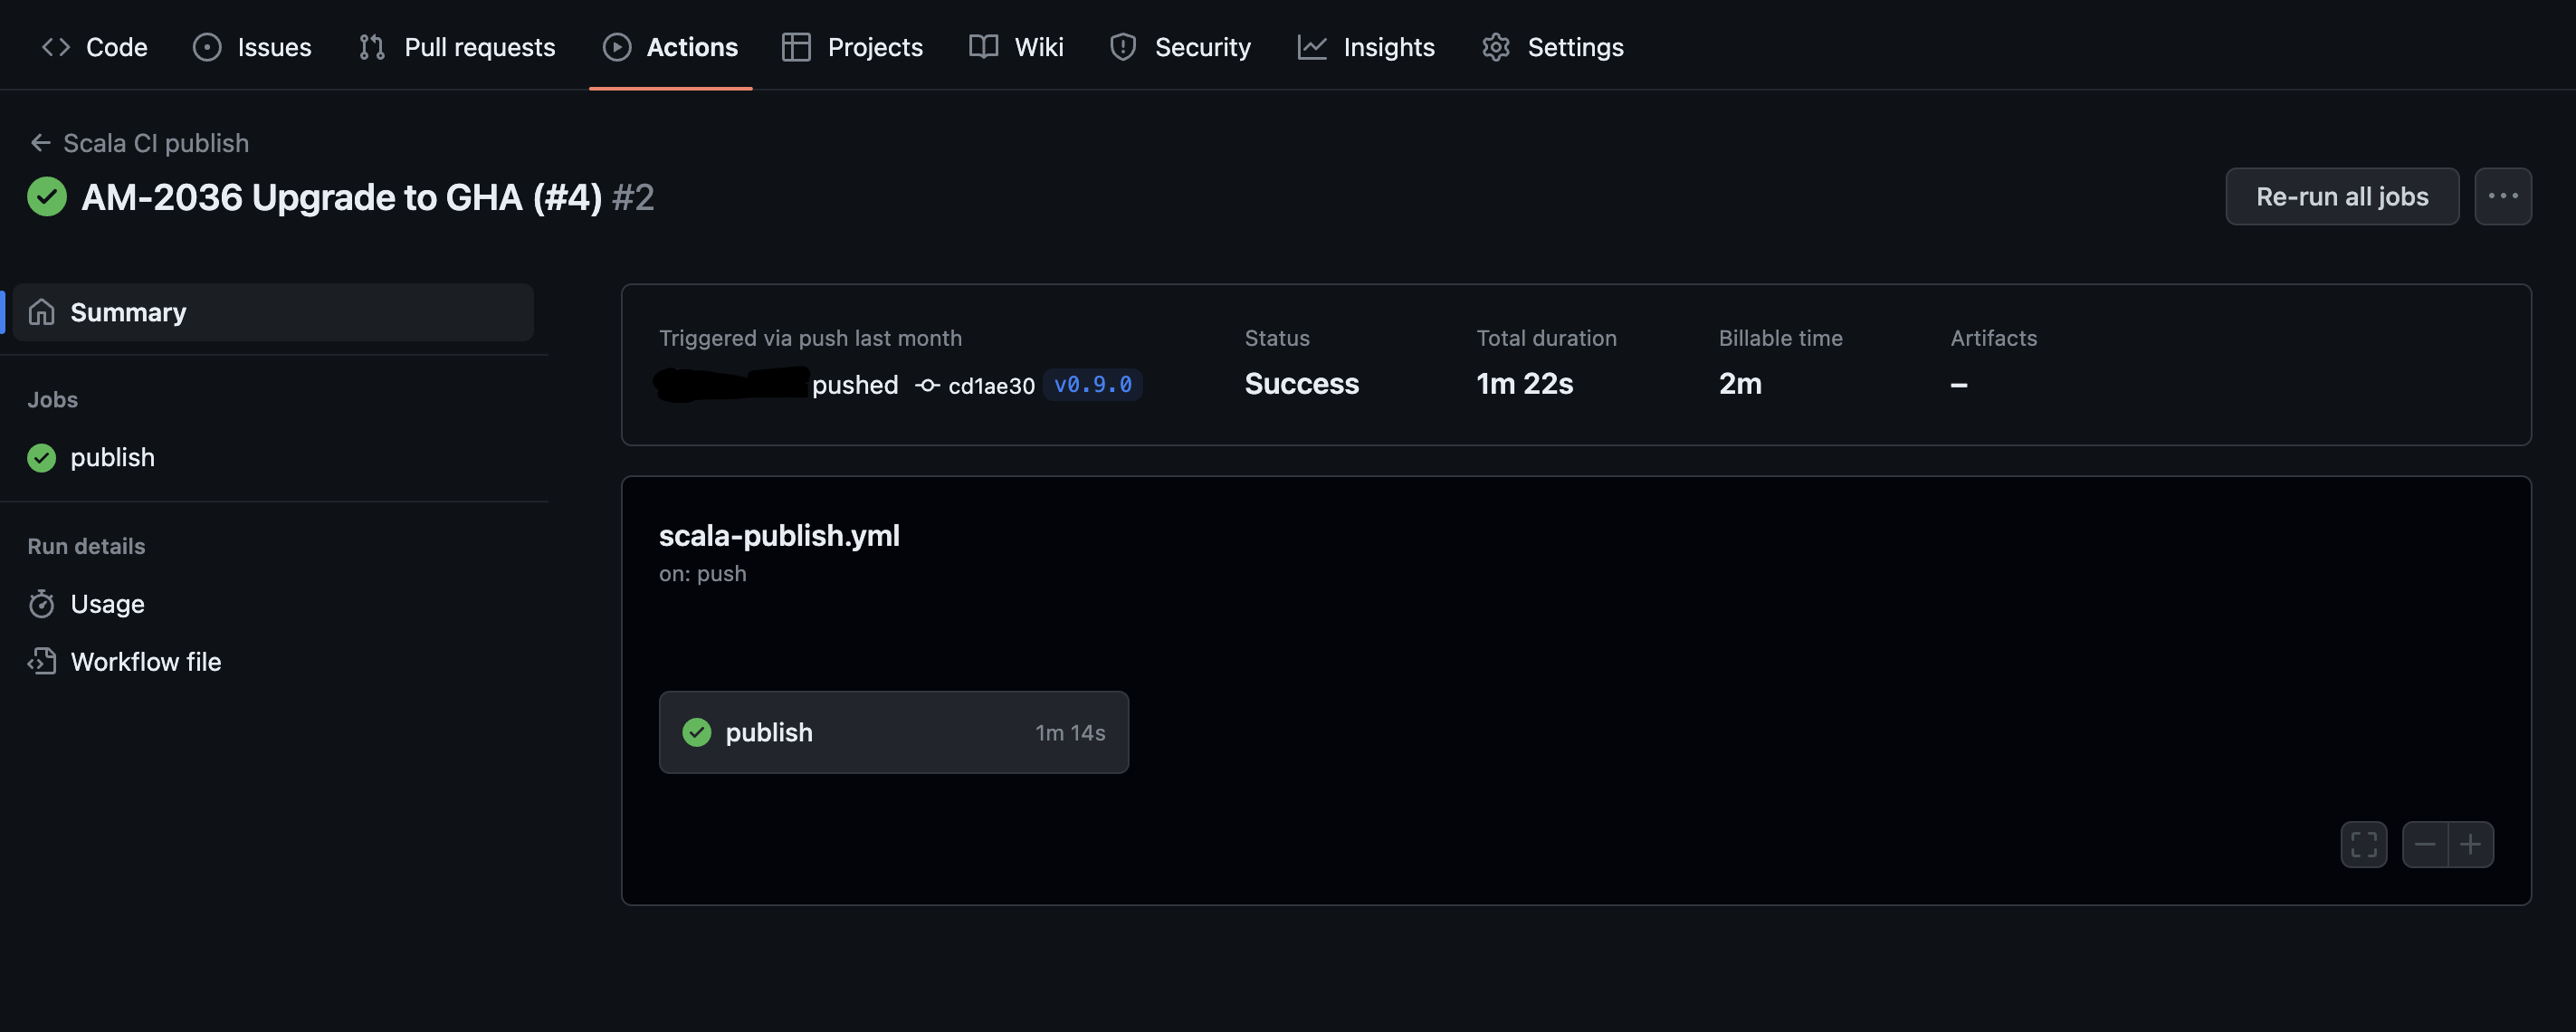
My congratulations! You have configured your Scala library to be published, and you did with minimal effort!
Consider looking at the links below if you need a more sophisticated setup. This will give you an idea of how to achieve what you need.
Additional setup (not required)
- Use the sbt project matrix plugin to build a multi-module cross-compiled and cross-platform project.
- This is how to get credentials and setup sbt for maven central publishing
- Use mima plugin to identify binary incompatibilities
- Enable GitHub dependency submission using this plugin to improve code security
Follow Vlad on social media to stay up to date with his latest content!
- Twitter: https://twitter.com/kopaniev
- Github: https://github.com/VladKopanev